
You can alternate between live and playback video modes from the timeline or from the camera widget in the Controls pane.
If the camera is not currently recording (indicated with the green ![]() overlay),
the Archiver might not be available. However, even if the camera is not recording on
the Archiver, the orange bar at the top of the timeline indicates the video that has
been buffered locally on your hard drive. Locally buffered video is available for
playback.
overlay),
the Archiver might not be available. However, even if the camera is not recording on
the Archiver, the orange bar at the top of the timeline indicates the video that has
been buffered locally on your hard drive. Locally buffered video is available for
playback.
To switch video modes:
Successive clicks adjust the playback speed from -1x to -100x.
The seek value is 15 seconds by default. You can change this value in the Options dialog box.
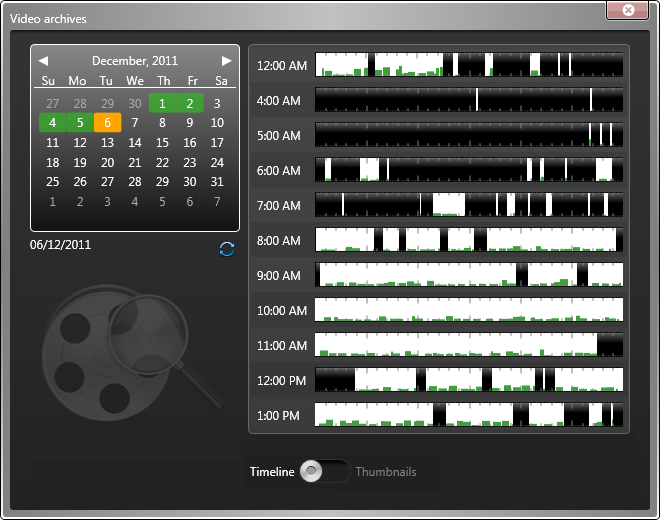
The hours in the day that video archives are available on are shown on the right in a timeline and are indicated by a white background.

 ).
).