You can create a new credential, configure its properties, and assign it to a
cardholder or visitor, using the Credential management task.
What you should know
Instead of creating credentials manually, you can import them from a
CSV file, or from your company’s Active Directory. For more information, see the Security
Center Administrator
Guide).
To create a credential:
-
In the Credential management task, click Create
new credential (
 ).
).
-
Select one of the following options:
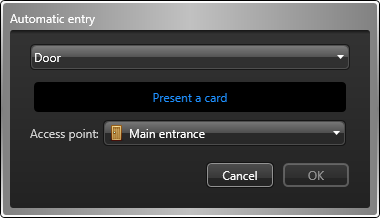
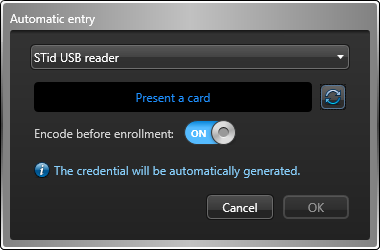
Automatic entry:

Present the card at a reader.
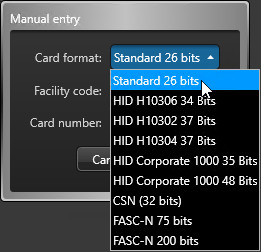
Manual entry:
Manually enter the card data. Use this method when you do not have a card reader near you.
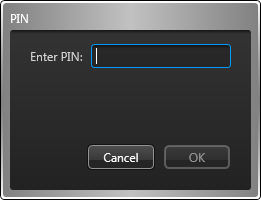
PIN:
Create a PIN credential.
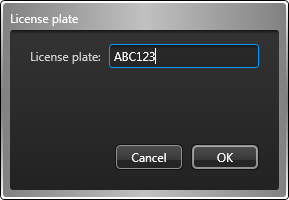
License plate:
Enter a cardholder's license plate number. Use
this method if a Sharp camera is being
used to trigger a vehicle access barrier. In this case, the cardholder's vehicle
license plate can be used as a credential.
-
If you select Automatic entry, you must then select a reader
(USB reader or a door) and present the card at the reader.
If you have a smart card encoding reader set up, set the
option Encode before enrollment to
OFF to read a pre-encoded card.
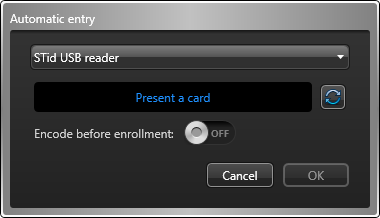
When the reader LED turns green (ready to read), place
the smart card on the reader. The reader LED turns yellow and then green with a
short beep before turning off.
If you want to generate and encode on your
card a random 128-bit MIFARE DESFire credential before enrolling it, set the
option
Encode before enrollment to
ON.
NOTE: Your Security
Center license must support smart
card encoding.
When the reader LED turns red (ready to encode), place
the smart card on the reader for approximately 2 seconds. The reader LED turns yellow and then green with a
short beep before turning off. If you hear a long beep and the LED stays red,
try again.
-
If you select Manual entry, you must then select a card
format, enter the required data fields, and click OK.
CAUTION: Enter your card data carefully,
because the system cannot validate whether the data you entered correspond to a
physical card or not.
-
If you select PIN, you must then do the following:
-
Enter the PIN as a numerical value.
NOTE: Be careful not to exceed the number of digits accepted by your readers.
A typical PIN length is five digits. But certain models accept up to 15
digits.
-
Click OK.
-
If you select License plate, you must then do the
following:
-
Enter the license plate number.
NOTE: You do not need to enter spaces that appear in the license plate
number. The system treats "ABC123" and "ABC 123" as the same
plate.
-
Click OK.
-
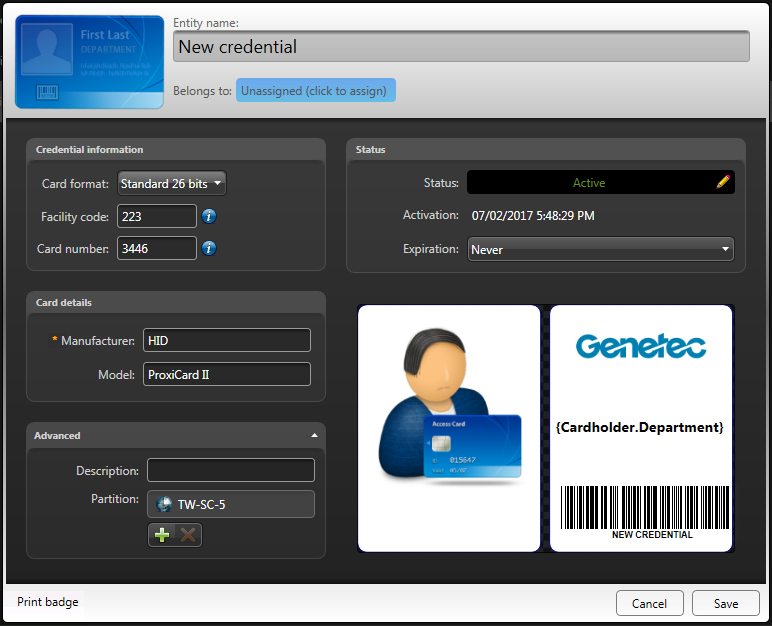
In the Entity name field, enter a name
for the credential entity.
The following screen capture is for card credentials. The dialog box looks different
if you selected
PIN or
License plate
credentials.
-
Click the Belongs to field, select a cardholder or visitor
to assign the credential to, and then click OK.
Without assigning a credential, you cannot monitor the activities, or generate
activity reports for that cardholder or visitor.
-
In the
Status
section, set the status and activation period for the credential.
If the credential is inactive, the cardholder or visitor does not have access to
any area.
Status:
Set the credential status to Active.
Activation:
Displays the current date.
Expiration:
Set an expiration for the credential:
Never:
The credential never expires.
Specific date:
The credential expires on a specific date and time.
Set expiration on first use:
The credential expires after a specified number of days after the first
use.
When not used:
The credential expires when it has not been used for a specified number of
days.
-
If custom fields are defined for credentials, such as the manufacturer, the card
model, and so on, enter the credential’s custom information under the designated
section.
-
(Optional) Click the
Advanced
section, and configure the following credential properties:
-
In the Description field, type a
description for the credential.
-
Assign the credential to a partition.
Partitions determine which Security
Center users have access to this
entity. Only users who have been granted access to the partition can see the
credential.
-
(Optional) If the credential is a card credential (not a PIN), select a badge
template.
-
In the lower-right corner of the credential details dialog box, click the badge
image.
-
Select a badge template, and then click OK.
Badge templates are created in Config
Tool. For information, see
the Security
Center Administrator
Guide.
A print preview of the badge appears, with data corresponding to the
credential.
NOTE: The badge template remains associated to the credential even
if you unassign the credential from a cardholder or visitor.
-
To print the badge, in the lower-left corner of the credential details dialog box,
click Print badge.
-
When you are finished editing the credential, click Save.
The new credential is added to the list in the Credential
management task.
After you finish
To modify a credential, select the credential in the list, and then click Modify ( ).
).