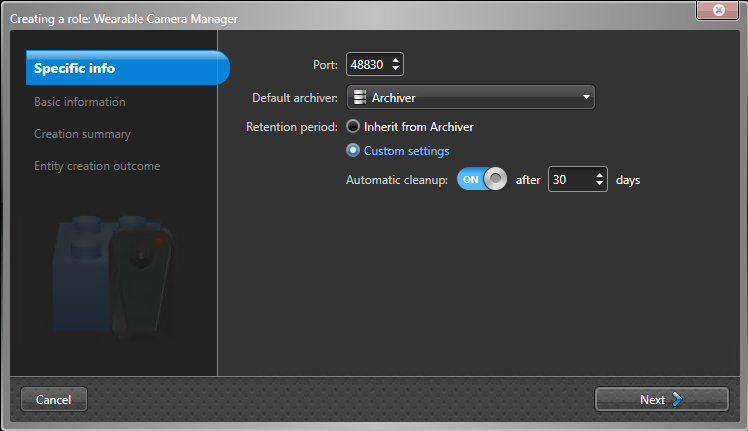
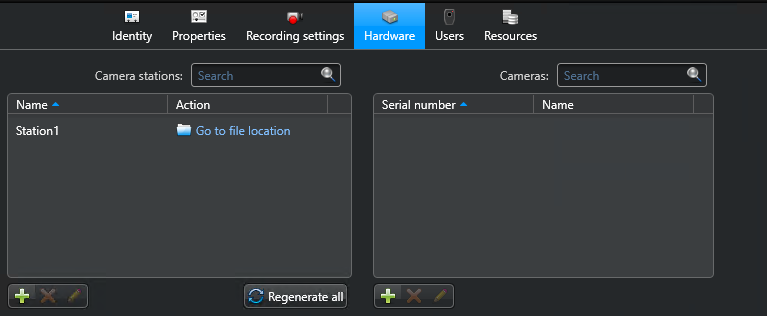
To use Security Center to upload evidence from a body-worn camera (BWC) or sync folder into a Security Center archive, you must configure the Wearable Camera Manager role.
Before you begin
- Ensure that you have a valid body-worn camera license (Part Number: GSC-Om-X-1BWC).
- Familiarize yourself with the Genetec Clearance™ Uploader in the Genetec Clearance™ User Guide.
- Install the Genetec Clearance™ Uploader. For more information, see, Installing the Genetec Clearance™ Uploader in the Genetec Clearance™ User Guide.
What you should know
- Redundant archiving or failover is not supported when using body-worn cameras.
- For a list of body-worn cameras that are supported by Security Center, see our Supported Device List.
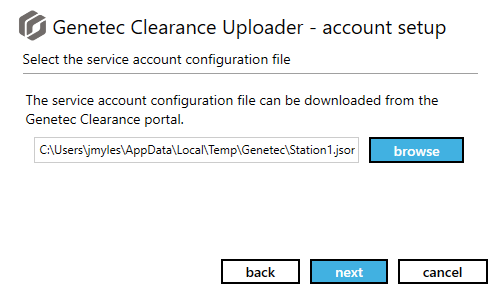
- The .json config file is used to define to the Genetec Clearance™ Uploader where to contact the role and to secure the communication.
To configure body-worn cameras:
-
Create a Wearable Camera Manager role.
-
Configure the Camera station.
- (Optional) Add a camera or user.
-
Configure the Genetec Clearance™ Uploader.
-
(Optional) Define a sync folder.
After you finish
- The upload begins when a camera is connected to the Genetec Clearance™ Uploader or when the sync folder contains new files. Your evidence is uploaded automatically, no further intervention is required.
- After the uploads complete you can find and view the uploaded evidence in Security
Desk by using the Archives report in the
Archives task.NOTE: Depending on the size and number of evidence files that you upload, the videos might not appear in the Security Desk archives immediately.


