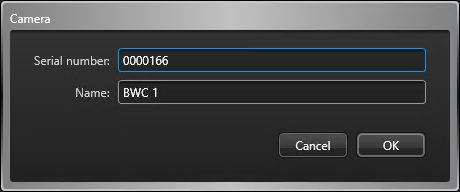
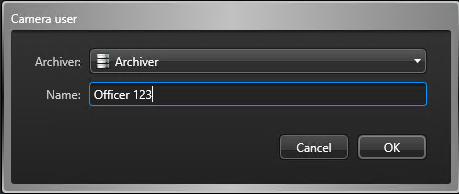
You can add cameras or users to the Wearable Camera Manager role automatically or manually. The automatic creation only happens when there is video in the body-worn camera to upload. When you want to assign a new camera to an existing user, use the manual process to avoid creating a new user.
Before you begin
What you should know
- Redundant archiving or failover is not supported when using body-worn cameras.
- For a list of body-worn cameras that are supported by Security Center, see our Supported Device List.
The upload process begins automatically when a camera is connected to the Genetec Clearance™ Uploader or when the sync folder
contains new files.
- If the body-worn camera device has not previously been configured, the camera is created automatically with the serial number of the camera device. In this situation, the camera user is created at the same time.
- If the user is automatically created the camera users Name is
the same as the Camera serial number.
 NOTE: The Camera device and user can be modified after they are created. Choose names that can be used to help you track and find your imported video.
Adding cameras manually:
-
Add a camera. In the Hardware tab Cameras
section, click
 .
.
-
(Optional) Click
 to modify a previously saved
camera.
-
(Optional) Click
 to delete any camera that you no
longer require.
- Click Apply.
Adding camera users manually:
-
Add a camera user. In the Users tab Cameras
section, click
 .
.
-
(Optional) Modify a previously saved user, Select a Camera user
and click
 to jump to the selected entity's
configuration page and make the required changes.
-
(Optional) Delete a user that you no longer require. Select a Camera
user and click
 to jump to the selected
entity's configuration page. Select the Camera user in the Area
view and click
  .
.
- Click Apply.


