To reactivate your Security
Center license
for the changes you made to the list of Directory servers while the Config
Tool workstation has no Internet access, you
must use a second workstation to download your license file from GTAP, and then apply the
license file using your first workstation.
What you should know
IMPORTANT: Server
Admin can only be
used to activate a single-server license. If you have a multi-Directory server
configuration, both the generation of the validation key and the application of the license
key must be performed from Config
Tool. All
Directory servers must be running to update the license from Config
Tool.
To update your license using a license file:
-
From the Config
Tool home page, open the
System task, and click the Roles view.
-
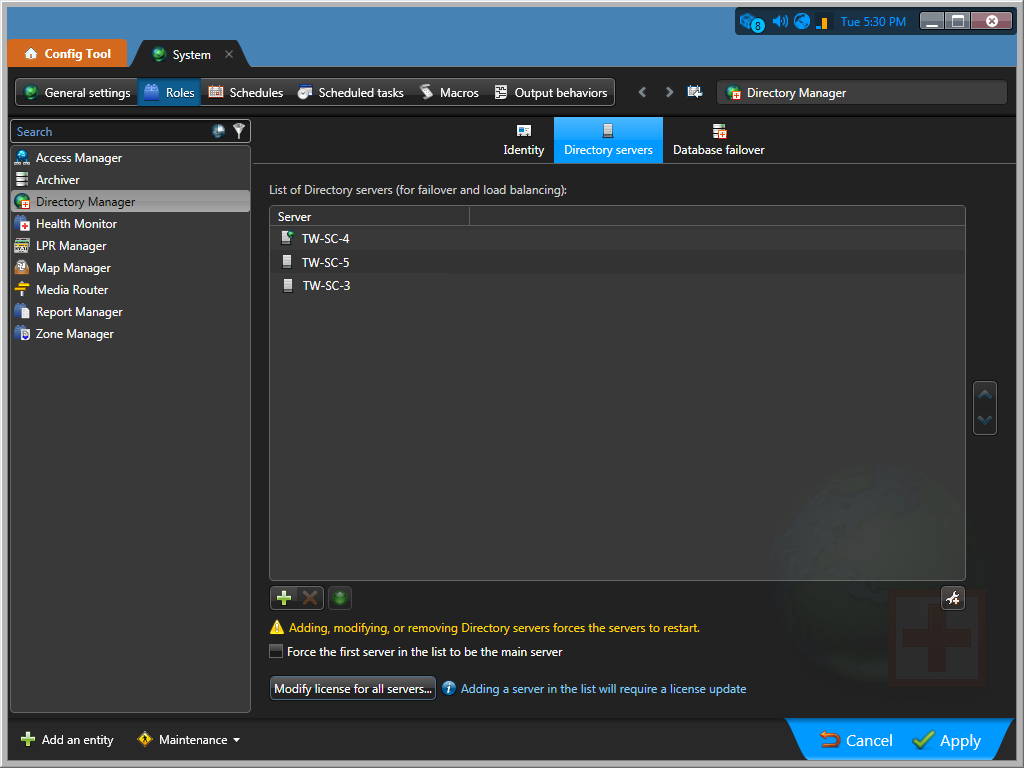
Select the Directory Manager (
 ) role, and click the Directory
servers tab.
-
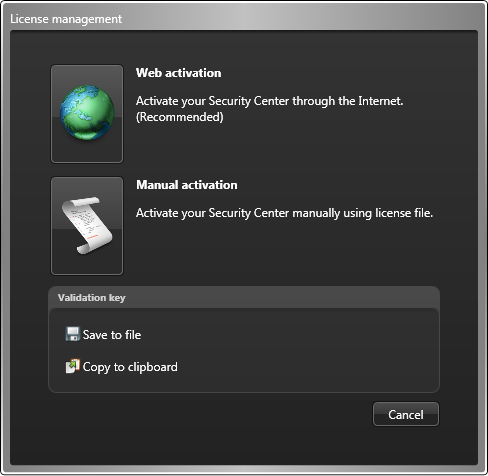
Click Modify license for all servers.
The
License management dialog box opens.
-
In the License management dialog box, click
Save to file to save the composite validation key to
a file.
The validation key is a sequence of numbers (in hexadecimal text format)
generated by Security
Center that
uniquely identifies all your Directory servers. The validation key is used to
generate the license key that unlocks your Security
Center software. The license key
that is generated can only be applied to the servers identified by the
validation key.
A text file named
validation.vk is saved to your default
Downloads folder. Make sure you copy this file to a
location (this can be a USB key) that you can access from another computer that
has Internet access.
-
Move to the computer that has Internet access.
-
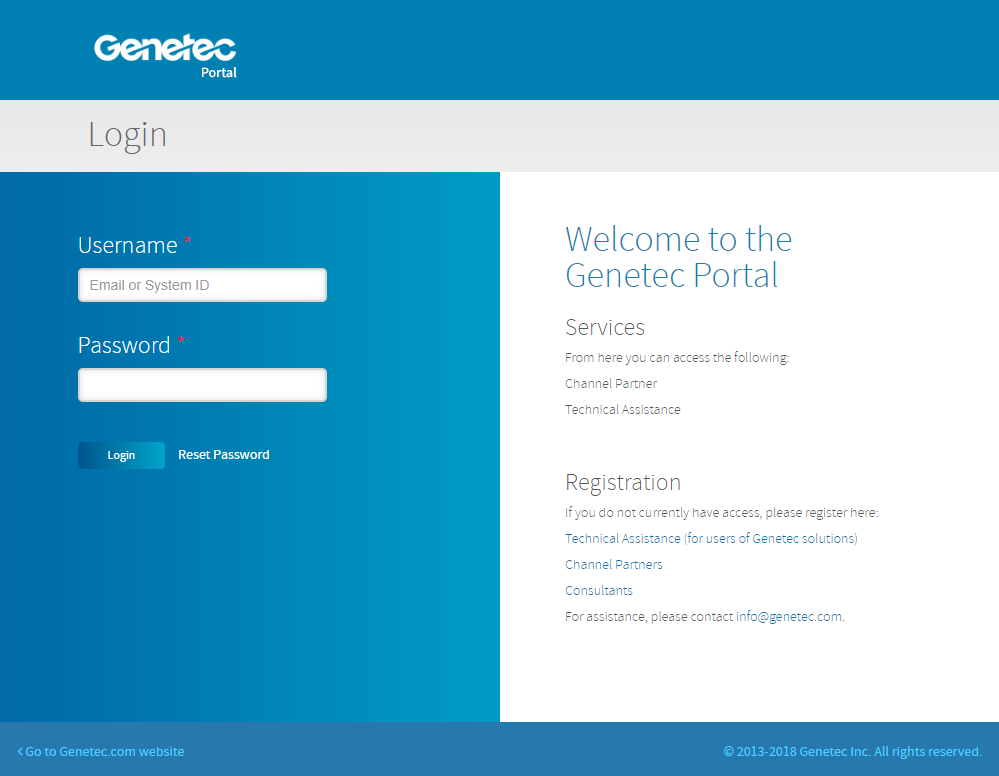
From another computer with Internet access, open the Genetec™ Technical Assistance Portal
(GTAP) at: https://gtap.genetec.com.
-
On the Login page, do one of the following:
- Enter the System ID and the Password specified in the Security
Center License
Information document, and click
Login.
- Enter your GTAP user account (your email address) and Password, and
click Login
-
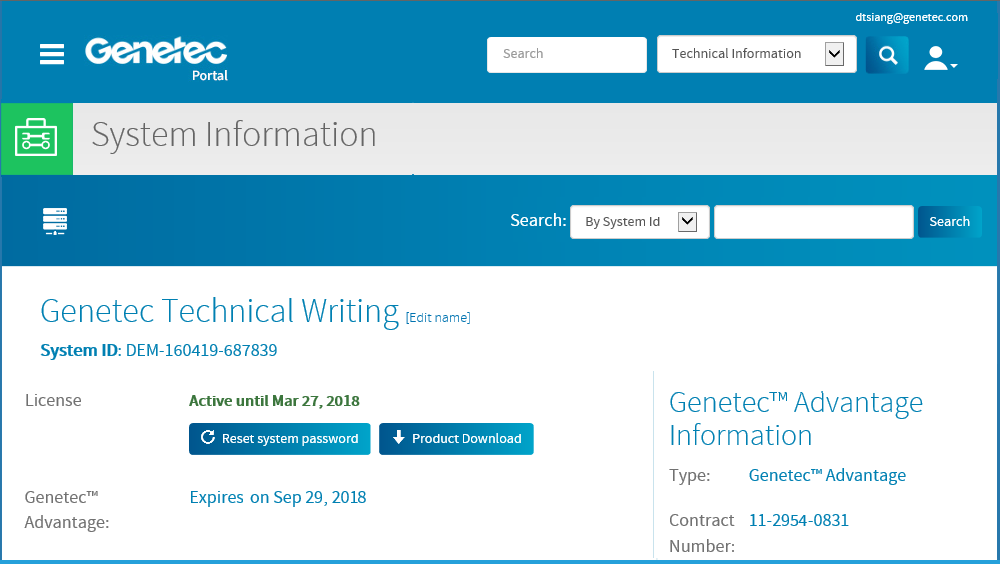
On GTAP, click Activate new system, select your system
from the System ID drop-down list, and click
Submit.
The the
System Information page opens.
-
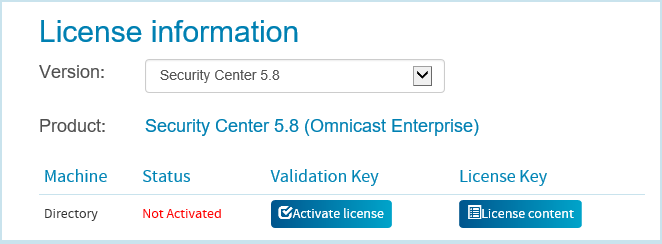
Scroll down to the License information section and click
Activate license.
-
In the dialog box that opens, browse to your validation key (.vk file), and
click Submit.
The message License activation successful appears.
-
Click Download License, and save the license key to a
file.
The default name is your System ID followed by
_Directory_License.lic.
-
Return to the Config
Tool
workstation.
-
In the License management dialog box, click
Manual activation.
-
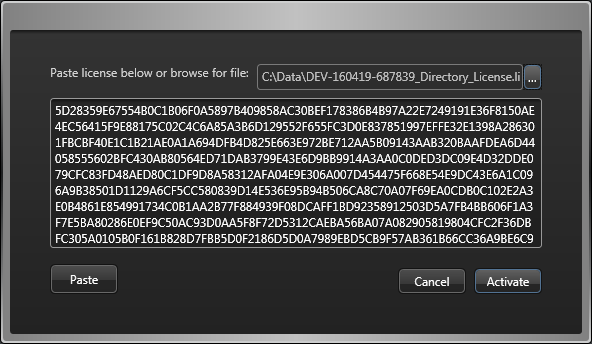
In the Manual activation dialog box, browse for the
license key file, and click Open.
-
Click Activate.
