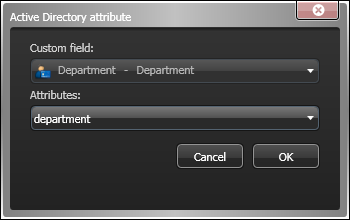
In addition to default attributes, you can import other attributes from the AD by mapping them to Security Center custom fields. The custom field mapping can be different for each Active Directory role in your system.
Before you begin
- Make sure that the workstation where Config Tool is running is on the same network domain as the AD server.
- Define the custom fields that will receive data from the AD.
What you should know
No more than 32 custom fields can be mapped to the AD.
To map custom fields to synchronize with Active Directory:
The mapped custom fields are displayed in the Links tab. When you synchronize with the AD, they are read-only.

