You must configure an enforcement area (or parking lot) for each permit restriction and overtime rule that you create.
What you should know
- When you have a enforcement rule and a parking lot defined, this makes up the parking area that is displayed in Genetec Patroller™. You create parking lots in Security Center Config Tool by drawing a polygon around the parking lot’s geographical location on the map. You can add multiple parking lots to a map.
- You can also import KML files to your map that have been created in another map application such as Google Earth.
To configure a parking lot in Security Center:
-
Click on the New zone 1 parking lot, and in the dialog that
appears enter a new Name and the number of
Spaces in the parking lot.
This name will appear in Genetec Patroller™ along with the Permit, Overtime rule or Parking restriction name, to display an enforcement zone.
TIP: Choose a name that describes where the parking lot is. This makes it easier to select the enforcement zone in Genetec Patroller™ when multiple zones are available.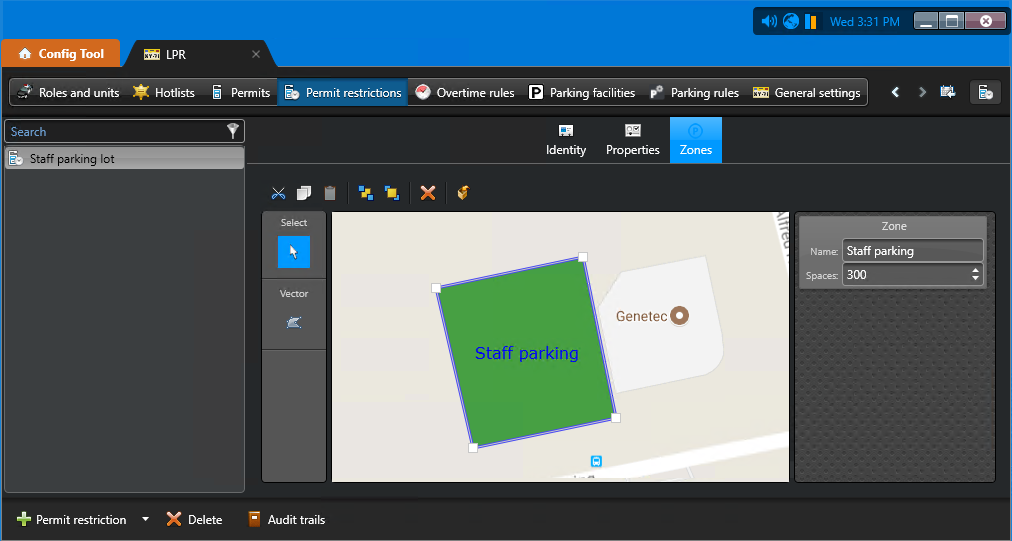
-
(Optional) To edit a parking lot, select the lot and use the buttons located at the top
left of the map:
- Cut
 :
:  Cut the selected parking lot from the current entity and paste it into another. For example, you may want to cut the parking lot from a permit entity and paste it into the map when creating a parking lot for an overtime rule.
- Copy
 : Copy the selected parking lot from the current entity and paste it into another. For example, you may want to use the same parking lot dimensions that were created for a permit parking lot in an overtime rule parking lot.
- Paste
 : Paste the selected parking lot into another entity.
- Send to Back
 : Send the selected parking lot to the background.
- Bring to Front
 : Send the selected parking lot to the background.
- Remove
 : Delete the parking lot.
