To send LPR data from the camera to Security Center, you must add the camera to an LPR Manager.
Before you begin
- To add a camera in Security Center, you must first configure an LPR Manager role.
- If your SharpV was shipped
with SharpOS 12.7 or later and you are
manually adding the SharpV to Security
Center, you do not need to upgrade it to
use the LPM protocol. If your SharpV camera is running an earlier SharpOS 12.x version, it is recommended that you
upgrade the camera and enable the LPM protocol to take advantage of this secure and
reliable connection to Security
Center.NOTE: If a camera uses the LPM protocol to connect to Security Center, the Active extension in the Sharp Portal is set to Security Center (LPM protocol).
What you should know
- The steps for adding the camera to the LPR Manager depend on the SharpOS version running on the camera. For more information, see SharpV camera connections to the LPR Manager role.
- If the SharpOS running on the camera is 12.6 or earlier, you can still connect by configuring the Security Center, HTTP, or FTP extensions in the Sharp Portal.
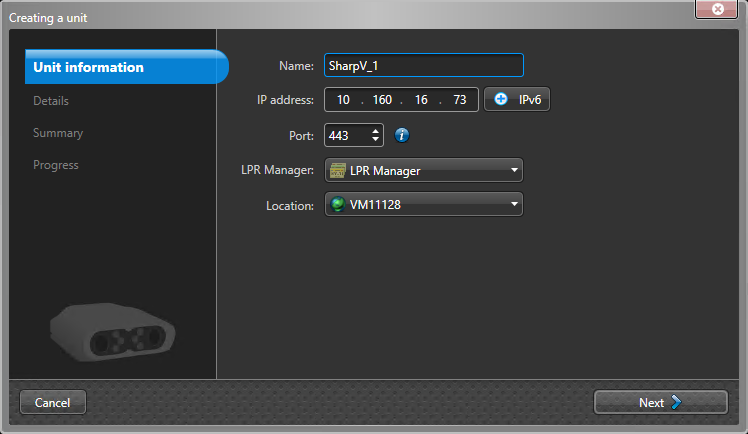
To manually add a camera running SharpOS 12.7 or later:
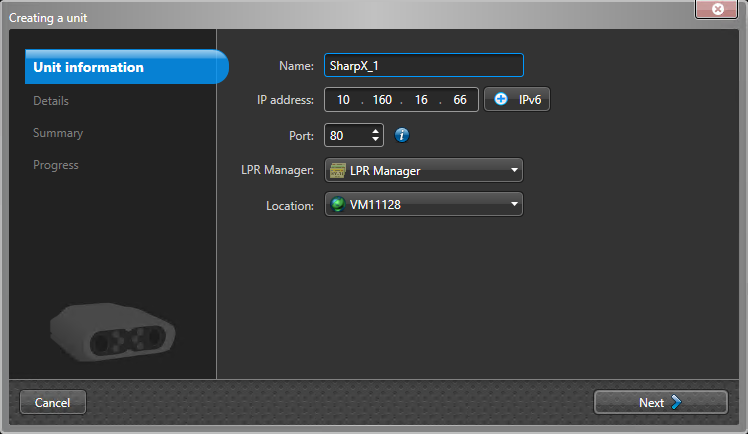
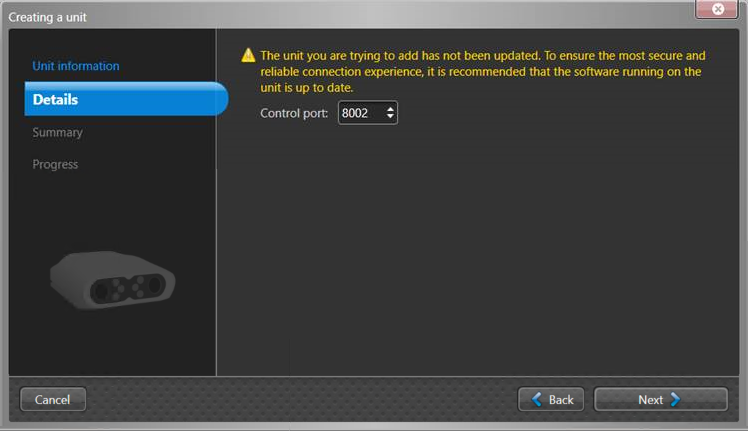
To manually add a camera running SharpOS 12.6 or earlier:
- The new camera is added under the selected LPR Manager.
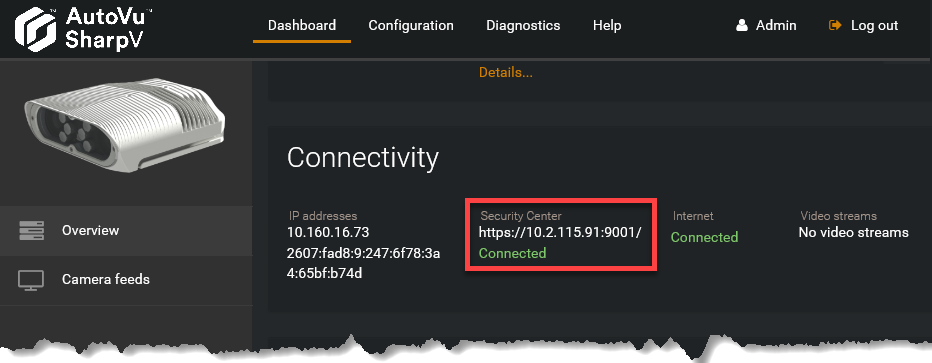
- The Sharp
Portal shows that the camera is
connected to Security
Center.


